



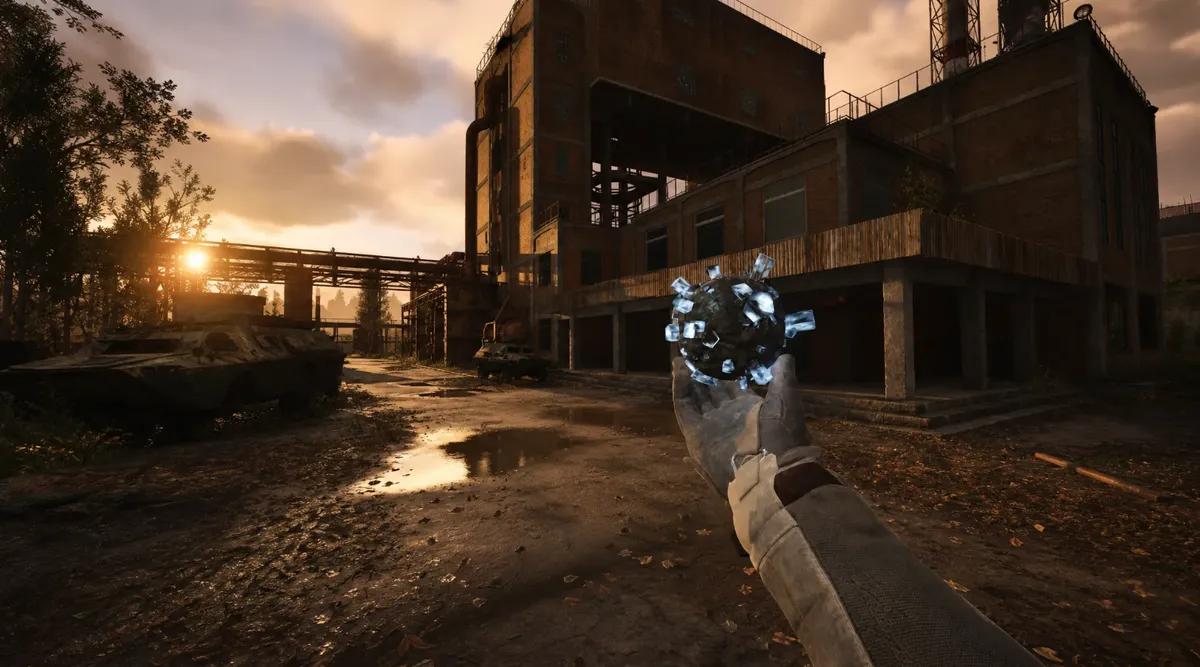
Beste rustning og gjenstander i STALKER 2: Drakter, spilleautomater og tillegg til Cost of Hope









 GSC Game World
Four suits in STALKER 2 carry five artifact slots, and one of them weighs 4 kg while another weighs 20 kg. That gap decides more about a build than any resistance number does, because slots are what let you stack artifacts, and artifacts are what let you survive the parts of the Zone your suit alone cannot. This guide covers the best armor in STALKER 2 by role, how the slot system actually gates you, every artifact family and where it comes from, and the four artifacts Cost of Hope added.
Best Armor in STALKER 2
Ten suits worth the coupons, with the six resistance values the game tracks. Every one of these numbers describes protection against something the Zone throws at you on purpose, and All Anomalies in STALKER 2: Types, Arch Anomalies and Where to Find Them covers which field punishes each column.
Suit | THM | ELE | CHM | RAD | PSI | PHY | Slots | Weight |
|---|---|---|---|---|---|---|---|---|
Diamond Exoskeleton | 2 | 2 | 2 | 4 | 2.1 | 4 | 5 | 9.5 kg |
Liberty Exoskeleton | 1.8 | 1.8 | 1.6 | 4 | 2.1 | 4.3 | 5 | 10.5 kg |
X7 Suit | 2.3 | 2.3 | 2.3 | 4 | 0 | 4 | 5 | 4.0 kg |
Ruby Exosuit | 1.3 | 1.8 | 1.3 | 4 | 1.1 | 3.7 | 5 | 20 kg |
Cuirass Exoskeleton | 1.7 | 1.7 | 1.9 | 3 | 1.1 | 4.3 | 3 | 10.5 kg |
Operator Exoskeleton | 1.7 | 1.7 | 1.7 | 3.4 | 0 | 4 | 4 | 9.5 kg |
PSZ-21W Shturm | 1.6 | 1.9 | 1.9 | 3.7 | 2.7 | 4.2 | 4 | 13 kg |
Brummbar Exoskeleton | 1.55 | 1.55 | 1.7 | 3 | 1.1 | 4 | 4 | 9.5 kg |
SSP-100 Discovery | 2.2 | 2.2 | 2.2 | 3 | 2.7 | 2.1 | 3 | 8.0 kg |
SSP-100I Survey | 2.3 | 2.3 | 2.3 | 2.5 | 1.1 | 3 | 4 | 10 kg |
The SSP-100 series is the outlier here. Both entries lead the table on thermal, electrical, and chemical protection while sitting near the bottom on physical, which makes them anomaly suits rather than combat suits. Wear one into a Ward patrol and you will feel every round. The exoskeletons invert that completely, and the gap between the two families is wide enough that most players end up keeping one of each in the stash and swapping by destination.
How Suits, Masks and Slots Work

Armour comes in two pieces and they cover different jobs.
- Suits carry all six resistances and every artifact slot in the game. Masks carry no slots at all.
- Masks add physical and psi protection on top, which is how a suit with zero psi becomes usable in a Controller fight.
- Artifact slots are the hard gate. Two slots means two artifacts, and no amount of resistance makes up for that.
- Technicians repair and upgrade both, and each one only handles specific armour. The Diamond Exoskeleton can only be upgraded in Yaniv and Prypiat.
- Lead Containers cancel the radiation an artifact generates, as does a radiation-protection artifact in another slot.
The technician restriction catches people out. Finding the suit is the easy half, and getting it to a workbench that will touch it is the other, so keep anything you intend to upgrade in your Personal Stash rather than hauling it across three regions. Upgrades cost coupons, and so do weapon repairs, which is the same budget, and STALKER 2 Weapon Tier List: Every Gun Ranked, Including Update 2.0 and DLC covers which guns drain that budget fastest.
Best Suit for Each Job

No suit wins on every axis. Pick by the thing that keeps killing you.
Best all-round: Diamond Exoskeleton
Five slots, radiation 4, physical 4, and psi 2.1, at 9.5 kg. Nothing else covers all six columns without a hole in it. It is upgradeable in Yaniv and Prypiat only, so plan the trip. At 9.5 kg it also undercuts the Liberty and the Cuirass while matching them on slots, which is the detail that settles most arguments about the best suit in the game.
Best for radiation: Liberty Exoskeleton
Radiation 4 with the highest physical rating on this list at 4.3, five slots, 10.5 kg. It gives up a little elemental protection for the toughest shell in the game.
Best for psi: PSZ-21W Shturm
Psi 2.7 is the joint highest of any suit, alongside the SSP-100 Discovery, and the Shturm pairs it with physical 4.2 and radiation 3.7. Four slots rather than five, and it belongs to the Ultimate Edition.
Best lightweight: X7 Suit
Five slots, all three elemental resistances at 2.3, radiation 4, physical 4, and it weighs 4.0 kg. The Ruby Exosuit offers the same slot count for 20 kg, which is a straight sixteen kilograms of loot you are choosing not to carry. Psi sits at zero, so it needs a mask. The Sphere M20 Helmet covers that at psi 1.7 and physical 3, and the Mask-1 Helmet trades a little psi for physical 3.65 if you expect gunfire more than Controllers.
Every Suit With Five Artifact Slots

Four suits, and this list matters more than any other in the guide because several published routes assume five slots without checking which armour provides them.
- Diamond Exoskeleton, 9.5 kg, the balanced pick.
- Liberty Exoskeleton, 10.5 kg, the toughest.
- X7 Suit, 4.0 kg, the light one, no psi protection.
- Ruby Exosuit, 20 kg, five slots at a heavy weight cost.
Slot count is not fixed forever. Technicians upgrade armour, and part of what upgrading buys is capacity, so a four-slot suit is not permanently short of what a five-slot suit starts with. The catch is the same one that governs every other upgrade in the game: only certain technicians will work on certain armour, and the good suits tend to be handled by the technicians furthest from where you found them.
The Berill-5M carries two slots and the Brummbar Exoskeleton carries four. Neither can hold the five Flickering Flare artifacts the Flare Anomaly crossing requires, which means any guide telling you to grab those two suits for that crossing is sending you into a psi field one or three artifacts short. Both are still guaranteed loot worth taking. They just are not the answer to that particular problem. Faction traders stock several of the mid-tier suits, so reputation decides what you can buy at all, and All Factions in STALKER 2: Bases, Reputation and Who to Side With covers whose shelves you are closing when you pick a side.
How Artifacts Work

Artifacts form inside anomalies and carry effects that no equipment provides, at a cost that is almost always radiation.
- They spawn in four families tied to the anomaly type that produced them.
- Most of them raise your radiation while equipped, offset by a Lead Container or a radiation artifact.
- They respawn in the same fields after a set interval, so a good farming spot stays a good farming spot.
- They sell for serious money. The Shell artifact carries an inventory value of 11,640 coupons and sells for between 2,759 and 4,140 depending on the trader.
- Veteran difficulty halves every selling price, which changes farming from a business into a chore.
A detector is not optional for any of this. It pings on a tone distinct from the anomaly warning, and the Bear Detector adds a compass display that points at the artifact rather than telling you one is nearby. Upgrading the detector pays back faster than upgrading almost anything else, because the time saved sweeping a field compounds across every farming run you make afterwards.
Farming spots are fixed rather than random. The Zone holds roughly twenty electro sites, twenty-one gravitational, twenty-one thermal, and fourteen acid, and knowing three good ones near a fast-travel point beats knowing thirty scattered across the map. Mutants gravitate toward the same fields you are farming, and All Mutants in STALKER 2: Full List, Weaknesses and How to Kill Them covers which of them will interrupt a detector run.
All Artifact Families by Anomaly Type

Sixty-nine common artifacts across four families, each tied to the anomaly that made it.
Family | Count | Examples | Typically boosts |
|---|---|---|---|
Acid | 18 | Kolobok, Slug, Mica, Devil's Mushroom, Tourist's Breakfast | Chemical resistance, healing |
Electro | 17 | Shell, Battery, Moonlight, Sapphire, Thunderberry, Rat King | Endurance, electrical resistance |
Gravitational | 17 | Spring, Goldfish, Jellyfish, Compass, Stone Heart, Whirlwind | Carry weight, physical resistance |
Thermal | 17 | Fireball, Magma, Plasma, Torch, Mama's Beads, Crystal | Thermal resistance, stamina |
The practical read on this table is that gravitational artifacts solve the problem every player actually has. The Spring reduces the weight of what you are carrying, which converts directly into more loot per run, and no combat bonus competes with that in the first thirty hours.
The rest sort themselves by what is currently killing you. Thermal artifacts cover Burners and the Fire Whirl. Electro artifacts cover the Iron Forest's discharge fields. Acid artifacts cover the swamps and the Fruit Punch belts. Most of them raise your radiation while equipped, so a radiation-protection artifact or a Lead Container has to occupy one of your slots before anything else does, and that is the real reason slot count decides builds.
All Legendary Artifacts

Eight legendary artifacts exist, and seven of them come out of Arch Anomalies rather than ordinary fields.
Artifact | Source |
|---|---|
Weird Flower | Poppy Field, Lesser Zone |
Weird Ball | Bulba, Lesser Zone |
Weird Water | Wandering Lights, Zaton |
Weird Pot | Mist, Burnt Forest |
Weird Bolt | Tornado, Yaniv |
Weird Nut | Fire Whirl, Cooling Towers |
Heart of Chornobyl | Story-linked, the Zone's centre |
Flickering Flare | Cost of Hope side missions |
The Flickering Flare sits in both the legendary list and the Cost of Hope list, which is why it turns up in two different places in most databases. It is the same artifact.
The six Weird items share a pattern worth knowing before you go hunting: every one of them sits inside an Arch Anomaly that has a survival requirement attached rather than a fight. Energy drinks for the Poppy Field, thermal protection for the Fire Whirl, psi protection and a light source for Wandering Lights, and a puzzle rather than any equipment for the Mist. The Heart of Chornobyl is the exception and comes out of the story.
Armor and Artifacts Added in Cost of Hope

The expansion adds four artifacts and two guaranteed armour drops. No new suit model arrives with it. What arrives instead is certainty, which matters in a game where armour hunting has always run on trader stock and luck. Every Cost of Hope DLC Mission in STALKER 2 lists which quest opens each of these.
Flickering Flare
Not much use alone. Its purpose is stacking: five equipped at once build enough psi protection to survive the Flare Anomaly crossing at the Water Treatment Facility. One comes from the side mission Where Hope Leads, the rest from The Forgotten, which chases a bandit named Otter through the Iron Forest and the power plant by following his radio broadcasts from portal to portal. Equip all five before you wade into the water channel at the Water Treatment Facility, not after.
Flare Light
An Arch Artifact and a guaranteed drop rather than a spawn. It comes off Otter's body at the far side of the Flare Anomaly, and the mission closes when you place it in Otter's stash at the Ventilation Stack.
Heart of a Shadow Chimera
Dropped by the Shadow Chimera, one of the two mutants Cost of Hope introduced. It is the only reason to fight one rather than run.
Water Drop
The fourth Cost of Hope artifact, tied to the expansion's localised anomaly fields rather than to a single scripted drop. Look for it in the Rusted Maze and the Sunken Swamp in the Iron Forest, and in the Administrative Block Courtyard closer to the plant. Bring a detector and a full stock of bolts, since all three fields punish the habits that keep you alive in Zalissya.
Two safes hold base-game armour on a guarantee. The Builder Camp safe in the Iron Forest opens with code 1986 and holds a Berill-5M Armored Suit. The Laboratory X16 safe opens with code 171008 during The Destructive Power of the Mind and holds a Brummbar Exoskeleton, with the code itself printed on a projector in the lab's central rooms rather than written on a note nearby.
What to Wear Into Iron Forest and the CNPP

Iron Forest breaks single-resistance builds. Its fields swing between electrical discharge and gravity distortion inside the same corridor, so a suit optimised purely for bullets leaves you standing in a Vortex wondering what happened. Take something with electrical above 1.5 and physical above 3, and accept a slightly worse number somewhere else.
The power plant asks the opposite question. Radiation there is a baseline rather than an event, which puts radiation 4 close to mandatory and makes antirad supply a packing decision rather than an emergency measure. Psi comes in for the Flare Anomaly crossing specifically, and that is where the five-slot requirement bites.
My own approach for both regions is the X7 Suit and a psi-heavy mask, because 4 kg leaves room for the artifacts and the ammunition rather than forcing a choice between them. The Liberty Exoskeleton is objectively tougher and I keep it in the stash, since there is no fight in either region that a extra 0.3 physical would have saved me from. Which region you finish in depends on the route you take, and All STALKER 2 Endings: Four Base Routes and Both Cost of Hope Outcomes covers where each one ends.


 Vellykket kopiert... Takk for at du deler innholdet vårt!:



5% innskuddsbonus opp til 100 perler

0 % gebyrer på innskudd og uttak.





11 % innskuddsbonus + FreeSpin


10 % EKSTRA INNSKUDDSBONUS + 2 GRATISSPINN PÅ HJUL

Gratis case og 100 % velkomstbonus


5 gratis saker, daglig gratis og bonus

3 gratiskasser og en bonus på 5 % på alle kontantinnskudd.

+5 % til innskudd




Kommentarer